
My First Quilt
29 March 2013
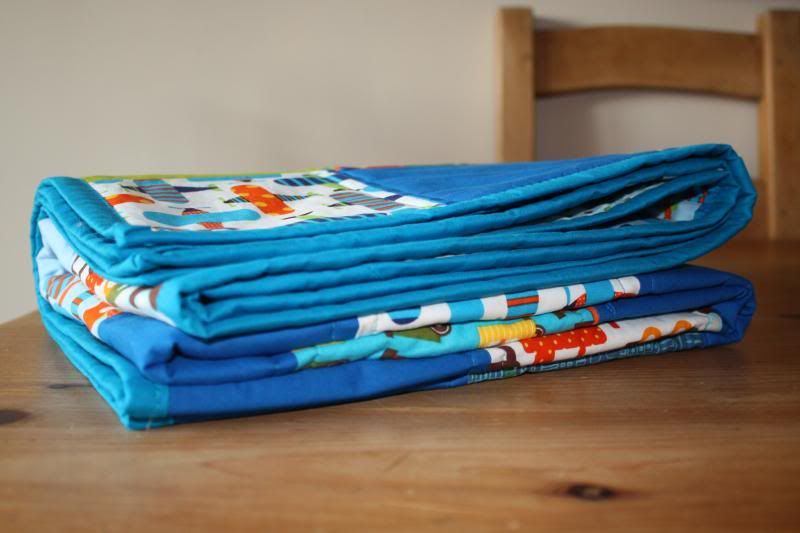
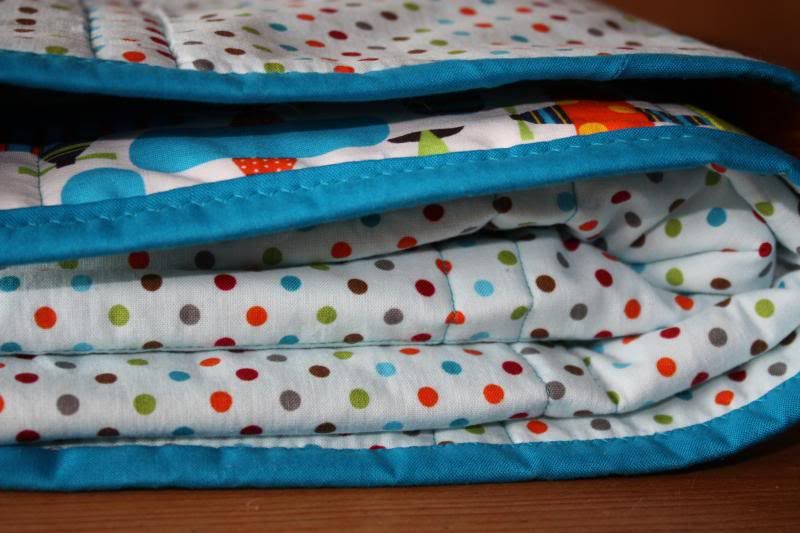
I have finishd my first quilt and I can finally share my first major sewing project with you. I am super chuffed with how it has turned out. I worked hard, but it hasn't all been plain sailing. There have been tears but I have learnt so much and have already bought more fabric to start my next one. This quilt is for my little brother Conor as a gift for his Christening this weekend. I love the bright colours and how it has come together. It is approx 60 x 45" (150 x 115cm), perfect for a nap or to play on. I hope little Conor likes it!
What I needed
Sewing Machine
Iron
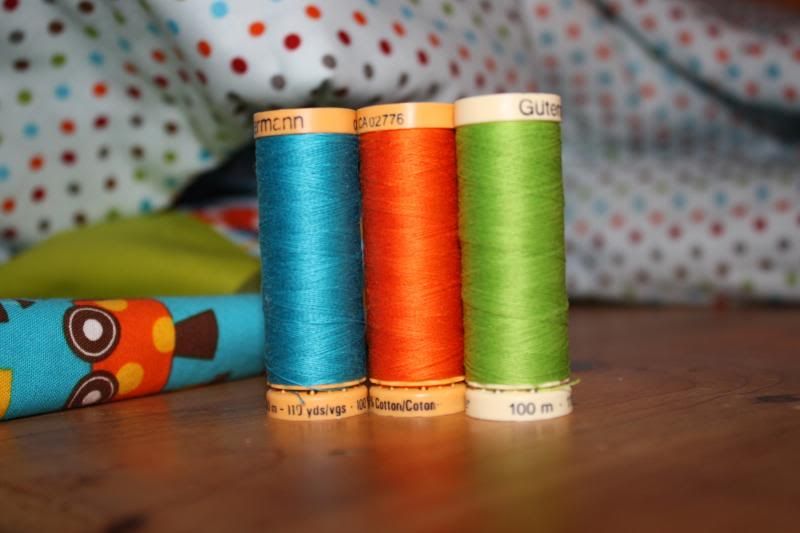
4 spools of 100% cotton thread (I always use Gutterman)
Fabric scissors
Quilt making kit (I bought this one as suggested by Elise)
Safety pins
Straight pins
What fabric I used
I stumbled upon this beautiful online fabric shop, and bought this bundle and with the help of Emma, I bought this backing here too. A big thank you to Emma for all her help. Emma's Fabric studio is filled with beautiful fabrics for your sewing projects at affordable prices.
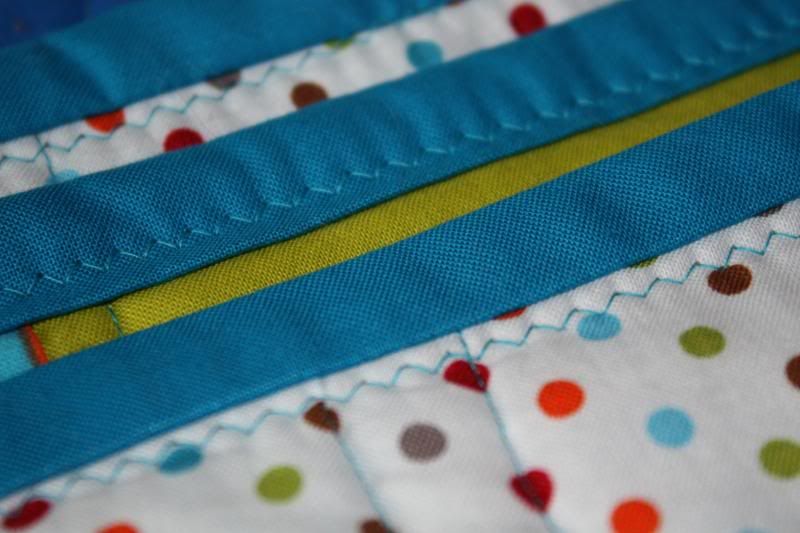
I bought the binding fabric from a local shop, Freelance Fabrics.
What instructions I used
I read this beautiful blog to get instructions on sewing all the squares together (even though Elise's tutorial is for a triange quilt (which I am definitely doing next!) and basic how to on quilting.
I read this to learn how to bind my quilt.

What I learnt
♥ Be patient
♥ If you are following instructions, read them carefully
♥ If you make a mistake - unpick it and start over or if that is not possible just try reassure yourself that it is called handmade for a reason. It is made with love and that's all that matters.
♥ Some of my sewing lines are not so straight - I think I need to sew slower when feeding the material through the machine.
♥ When binding the quilt, make sure you measure the seam allowance so it equal all the way round the quilt.
♥ Practice will make perfect!


Happy Quilting! x
Around here
28 March 2013
This Easter weekend brings lots of things to look forward to. We will be flying to cork early Saturday morning for Conor's christening on Sunday (Conor is my cute little half brother). I am so looking forward to seeing all the family and dressing up! (I don't often wear dresses and mascara!)
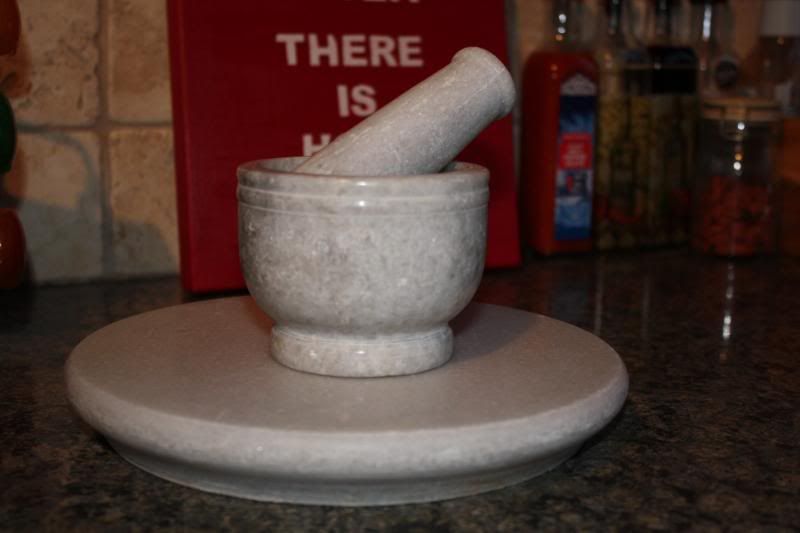
It has been a mega fun week with so much accomplished. I have finished my first quilt (sneek peak above) & cannot wait to give it to Conor - I have poured my heart and soul into this project and what with it being my first one its super special. If you would like to see my finished quilt and my ramblings about it check back here tomorrow! We picked up my mother-in-law from the airport after her holiday in India and she bought me back the beautiful pestle & mortar as well as the marble chopping block. I love them.
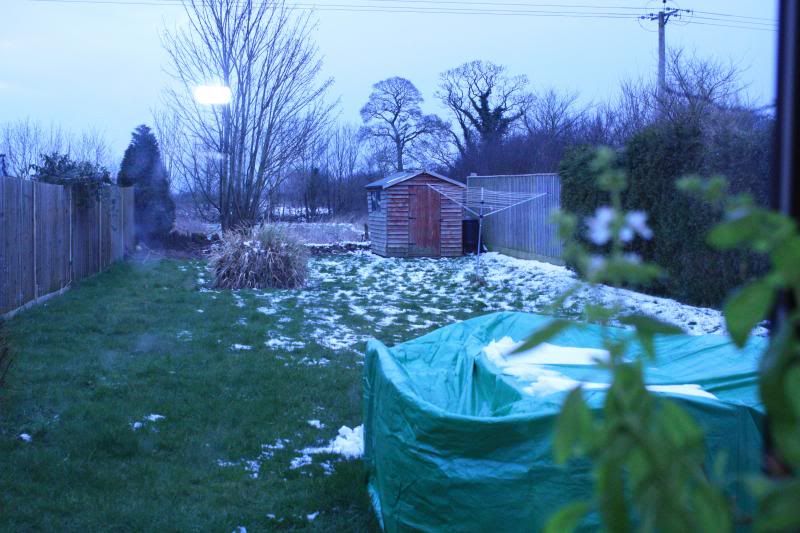
We are also going to paint our bedroom and get that finished - I wanted to start on the garden but it is so cold here still and there is still snow on the ground so it will have to wait.
I love having things to look foward to - it makes the weeks bearable, especially when we are waiting for Spring to show its face. I hope you all have a bit of excitement this long weekend.
Happy Easter!
x
Homemade Hot Cross Buns
26 March 2013

As Easter is just around the corner I thought I would try making homemade hot cross buns. Laura, over at The Velvet Doe shared a delicious recipe and I knew I had to make them when I saw her post.
They turned out beautifully and are really scrummy, we are eating them at work as I write (hubby doesn't like hot cross buns so I bought them all to work!).
The only thing I did differently was using heated golden syrup to brush the buns once they were out the oven instead of apricot jam as I didn't any in the cupboard. This was just as nice
I love trying new recipes and will definitely be making these again.
Happy Baking x
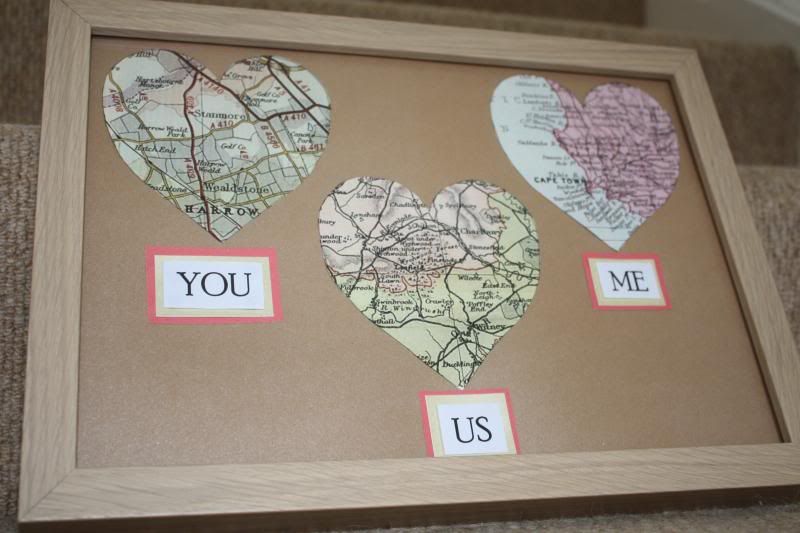
I saw this lovely idea here (don't you love Emily's blog?) and had to make it since it is so apt to the husband and I. It was easy to make and looks pretty sitting in our bedroom.
♥ All you need ♥
Frame
Scissors
Glue stick
Old maps (alternatively, like I did, print maps off google images)
A piece of card in the colour of your choice
3 words printed with You, Me and Us
To make these pretty frames, just cut out the hearts using a stencil (I got mine off google images) from the map images. Glue these onto your card and then glue the words under the appropriate map images. I love the way mine turned out. Its personal and handmade. Perfect.
You could make this as a gift or just make it for yourself :)
Happy crafting x
Bathroom Makeover
25 March 2013
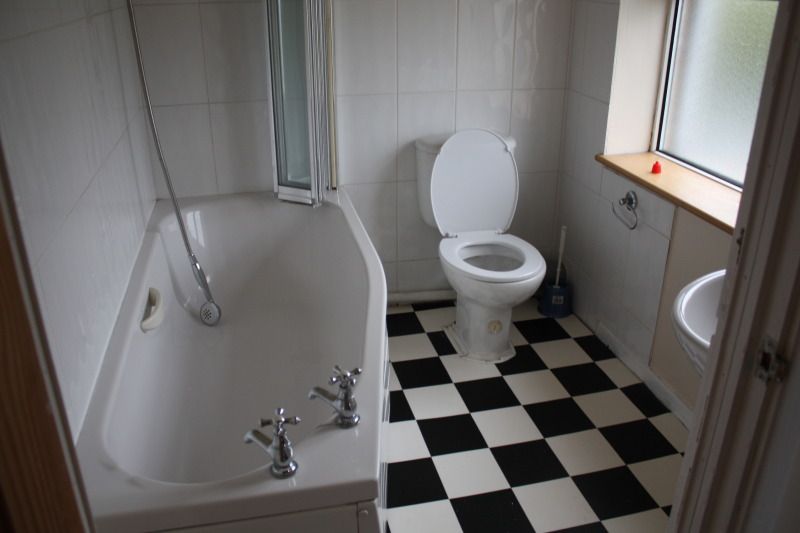
When we moved into our house we disliked the bathroom layout and knew from the beginning we would change it. Finally, it is finished and I wanted to share it with you. First, here is what it looked like before. In the two months before we ripped it out we did paint it - you can see that post here. I love our new look, it's bright, clean and has more space. It works well for us and thats the main thing. Don't you love our shower curtain?
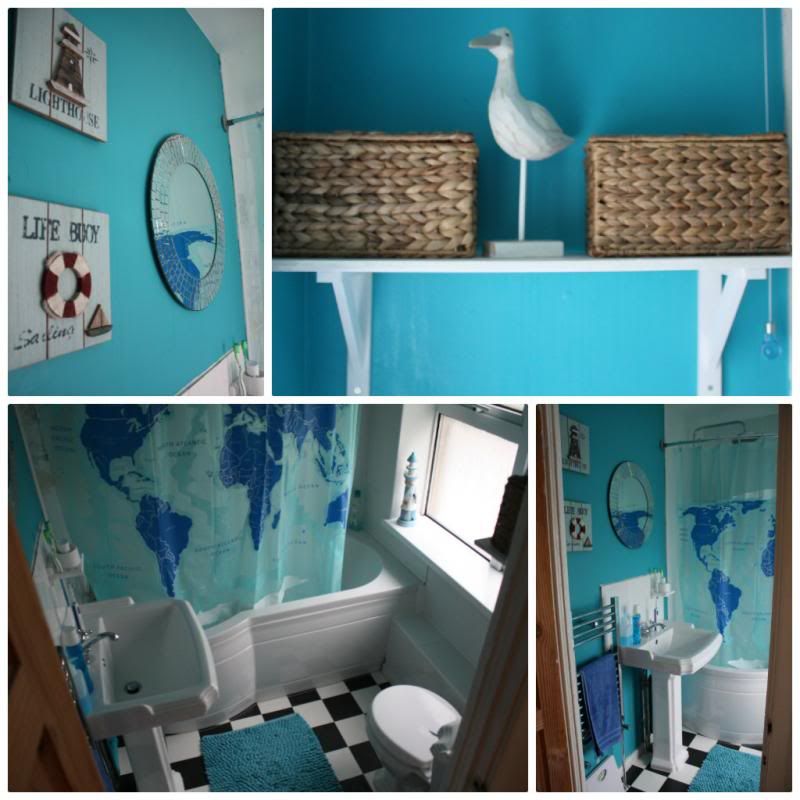
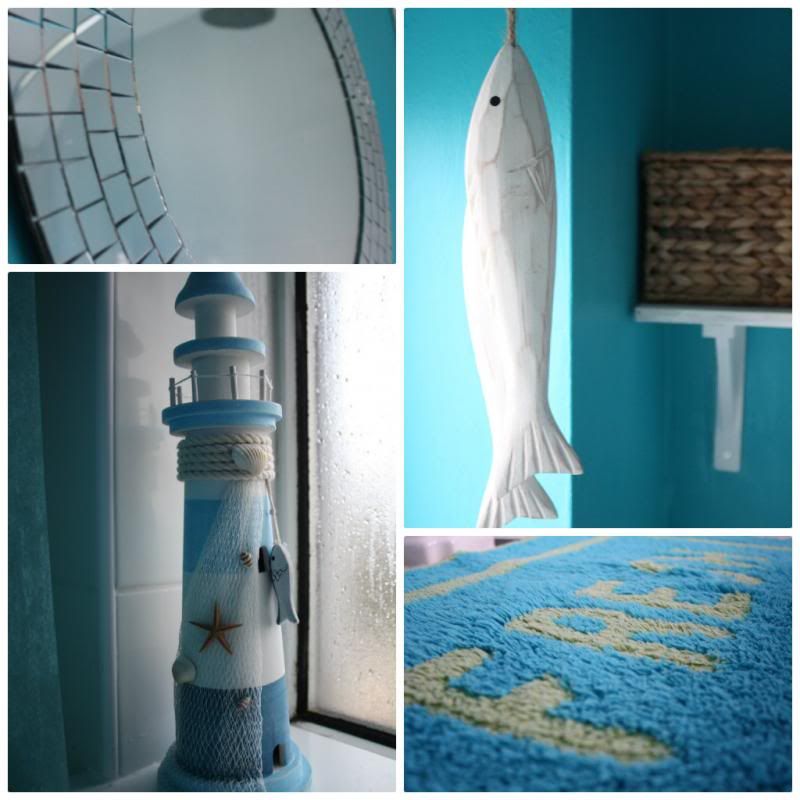
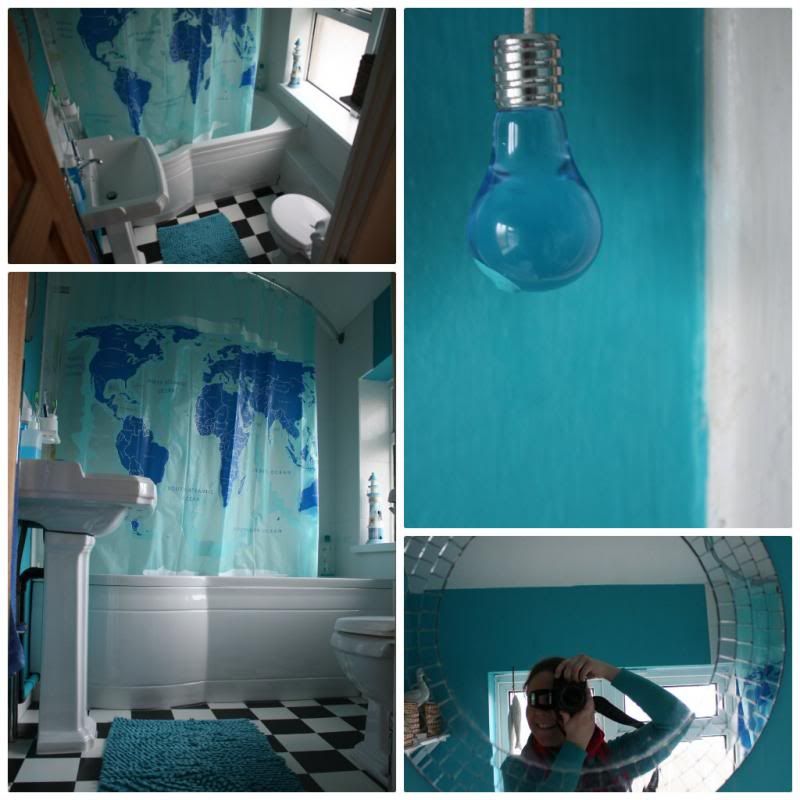
Shower Curtain//Lighthouse//Storage boxes//Seagull & Fish//Mirror//Wooden Wall Decor//Shelf//
Shower Curtain//Lighthouse//Storage boxes//Seagull & Fish//Mirror//Wooden Wall Decor//Shelf//
Happy decorating! x
Earth Hour 2013
22 March 2013

You make have noticed a little video on my sidebar this week?
Tomorrow 23rd March 2013 at 8:30pm -9:30pm (your local time wherever you are) why not support Earth Hour.
What is Earth Hour?
Earth Hour is the single, largest, symbolic mass participation event in the world. Born out of a hope that we could mobilize people to take action on climate change, Earth Hour now inspires a global community of millions of people in 7,001 cities and towns across 152 countries and territories to switch lights off for an hour as a massive show of concern for the environment.
So get involved, your little contribution can make a HUGE difference in the battle against climate change. We will be lighting candles and enjoying the candelight, maybe play a board game and listen to music. We might even stand oustide with a hot cup of tea and enjoy the stars (if its not snowing!!). If you need some ideas as to what to do in the dark, check out this link.
Find out what the UK is doing.
Find out what the US is doing.
Find out what South Africa is doing.
Find out what Australia is doing.
Fancy a challenge? Why not enter the I will if you will challenge? I have accepted a few; namely I will plant a tree in our garden, take part in Earth Hour and switch off my PC instead of putting it on standby. These little things can make a difference.
Take part. Make it count.
Dare the world to save the planet.
x
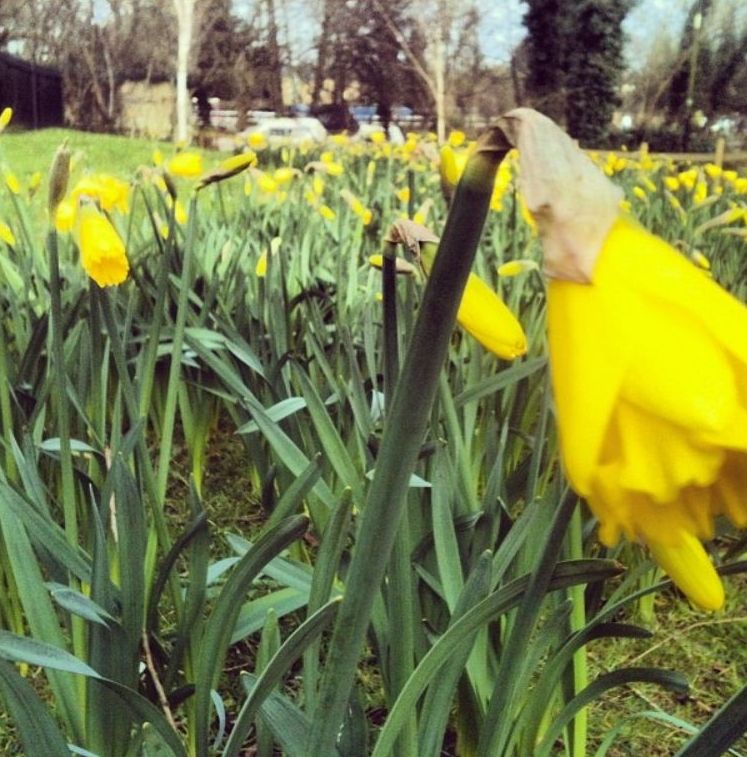
Spring is here...
21 March 2013
Today is officially the start of Spring - although it sure doesn't feel like it! It is absolutely freezing. But - I am sure Spring is just around the corner and with it will come plenty of sunshine, flowers and fun.
I have the day off tomorrow to do my assignment (fun fun!) but I am also hoping to get in the garden this weekend and start planning our space. I also want to try this hot cross bun recipe - wow - it looks delicious. Maybe we can start painting our bedroom too - we bought this paint last weekend. Can't wait to get started.
Also - you might have noticed a little video on the sidebar of my blog - it is earth hour on Saturday - why don't you get involved and support it too! I will post more about it tomorrow.
So much to look forward to.
Happy days x
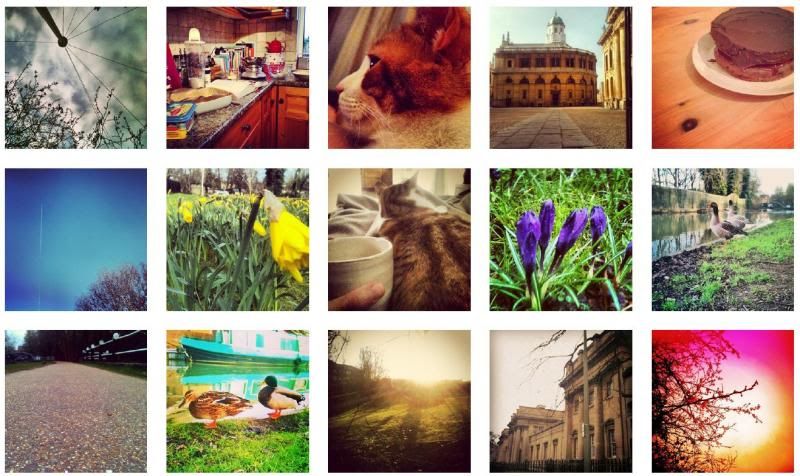
p.s. if you don't already, why don't you come follow me on instagram?
p.p.s and have you seen my page on facebook?
It's a good day
20 March 2013

I will be a bit quiet this week - I have to get my assignment done (first one for my final course of my degree - do a little dance!). I am planning posts for our bathroom makeover, a little diy art project, some cooking and more garden inspiration so look out for those next week.
In the meantime...
In the meantime...
Blondies
19 March 2013
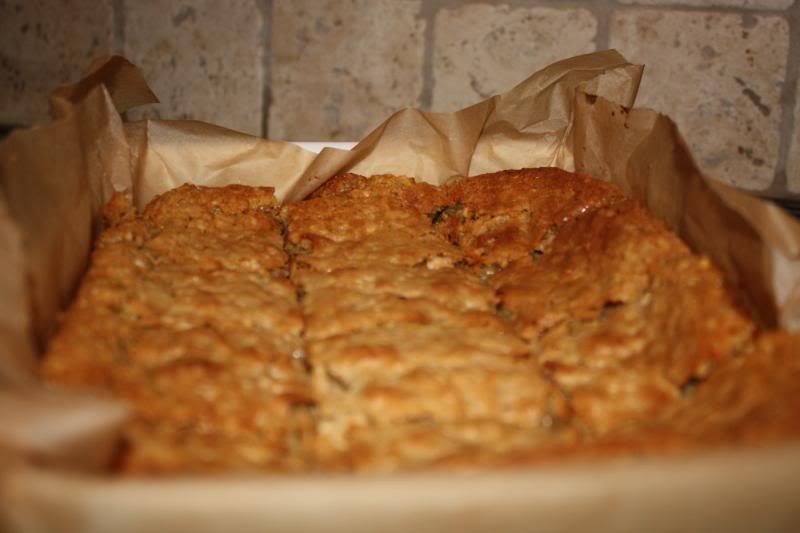
So, as you may know if you read this blog regularly - I love baking. Here are some blondies I baked last night from Nigella's KITCHEN recipe book. They are gorgeous and super easy to whip together.

Ingredients
200g porridge oats
100g plain flour
1/2 tspn bicarb
150g soft butter
100g brown sugar
1 x 397g can condensed milk
1 egg
1 x 170g pack dark chocolate morsels/choc chips (I used a large bar of Dairy Milk)
1 x 23cm square cake tin (I used a rectangle one and it was fine)
♥ Makes 16
♥ Pre-heat the oven to 180 degrees and line your baking tray with greaseproof paper
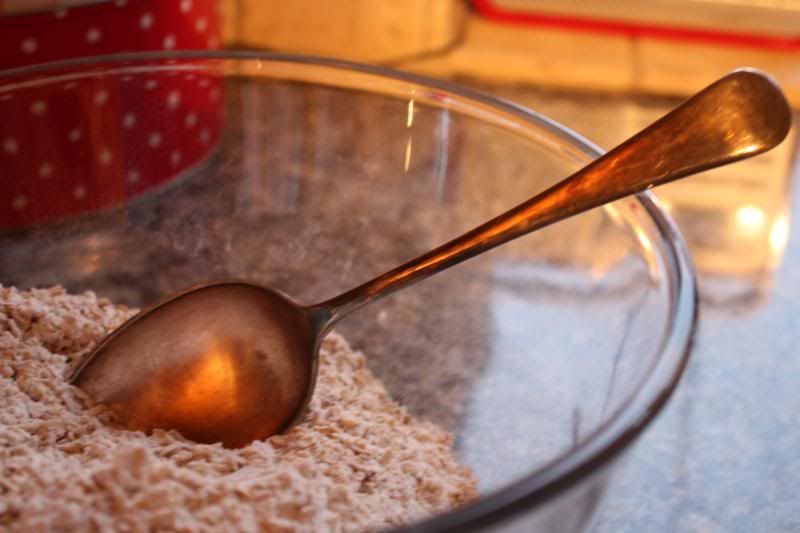
♥ Combine the oats, flour and bicarb in a small bowl
♥ In another bowl, mix the butter and sugar until light and creamy then beat in the condensed milk, followed by the oats mixture.
♥ When these are well mixed, beat in the egg and then fold in the chocolate pieces.
♥ Dollop the mixture into your lined tray and cook for about 35 minutes.
In Nigella's words:
"When ready it will be quite a pronounced dark gold around the edges and coming away from the tin. It will look and feel cooked on the top, though just beneath it will still seem frighteningly squidgy, not to say, wibbly. But it firms up as it cools in the tin, so to end up with the requisite chewiness you have to take it out of the oven while it feels a tad undercooked."
Don't you just love it?
As always, must be had a with a large cup of tea.
Happy baking x
Gardening: Goals & Inspiration
18 March 2013
So - we moved into our little house with a big garden 7 months ago today. Now that the inside is pretty much finished we are going to start concentrating on the outside. The front of the house - at the moment - is not very visually appealing to say in the least. But we have come quite far with it already.
Our plan is to re-pave the driveway, gravel the bit behind the fence and put some pot plants and chinese ivy onto some trellis' against the house. We want sometime low maintenace yet homely with a cottage feel. We are going to paint the front door red and in the future I would like to replace that ugly piece cement above the door with a pretty feature canopy, maybe even with some brickwork and lanterns too. But I am getting ahead of myself already!
The back garden will be more of a challenge. In one word - it is huge (well in my books anyway.) I would love to have a vegetable patch, some more trees, a long border against the side, a pretty pathway on the otherside, a vertical garden (for succulents) on the wall, tidy up the porch area, get rid of the pampas grass, get a bigger shed, a little greenhouse, install some bird feeders, put a lovely wooden fence at the back (to stop dogs coming in from the field mainly!) and replace the washing line with something a bit more discreet. So you do think my list is long enough!?
I have gathered and continue to gather my inspiration here and cannot wait to get started. I thought spring was on its way but we had some snow yesterday (crazy weather) but hopefully thats the end of winter now and spring will start to appear soon.
Happy gardening!
x
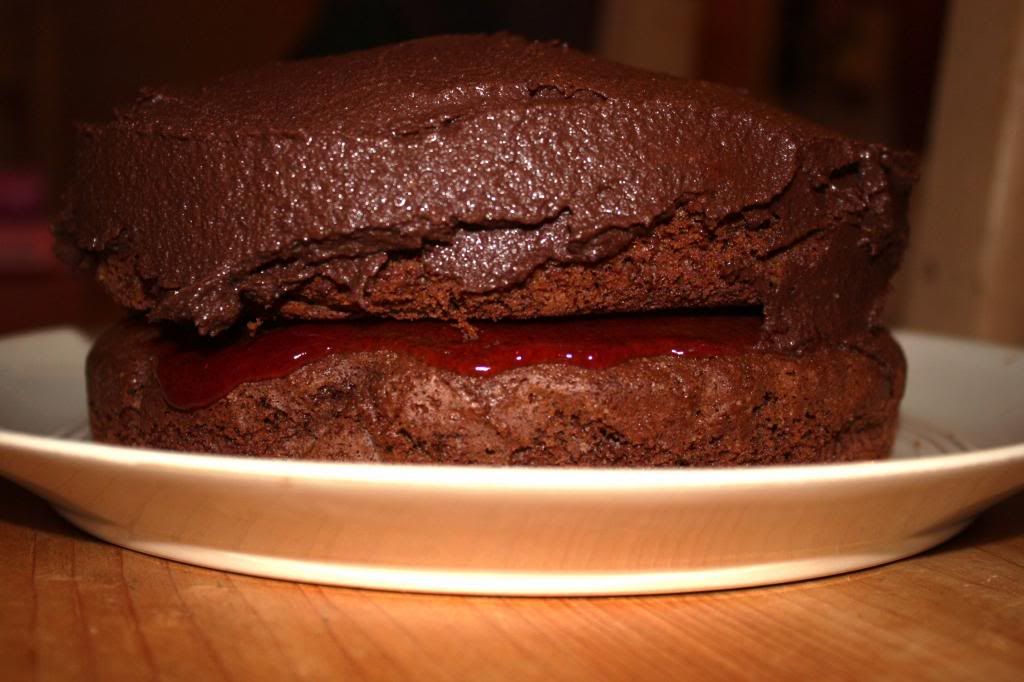
Homemade Chocolate Cake
15 March 2013
We went to the Charlbury farmers' market last Saturday and had a mooch around the little stores. I love supporting the local farms and shops, even though it may be a bit pricey it is so worth it. We bought some eggs, a local ale, a bar of homemade soap, mushrooms and a bottle of rapeseed oil.
The oil is made at Stainswick Farm and it is delicious with bread, for cooking and baking. The owner shared her chocolate cake recipe with me. I never knew you could replace the butter with oil. So I thought I would give it a go.
Ingredients
175g self raising flour
3 large eggs
3 tablespoons cocoa
175g caster sugar
1 1/2 teaspoons baking powder
2 tablespoons milk
100ml rapeseed oil
Method
♥ Heat oven to 180 degrees
♥ Grease and line 2 x 20cm sandwich tins
♥ Put all the ingredients into a bowl and mix for 2 minutes
♥ Pour evenly into both tins and cook for about 28 minutes or until cake springs back when gently pressed with finger tips.
♥ Turn onto a wire rack to cool.
♥ Sandwich together with buttercream icing (I put strawberry jam in the middle and chocolate buttercream on the top)

As I am writing this post I have not yet tasted it as we are taking it round to Neil & Rita's tomorrow night but I will update you!
Update: The cake was delicious, moist and super with a cup of tea. It had a lovely subtle nutty flavour which added to the fabulousness of this cake! I will definitely be making this again!
Happy baking x
Vegetarian Lasagne
14 March 2013

I love cooking – but sometimes coming home after a long day and thinking about what to cook for dinner can be a bit tiresome. I need inspiration on a constant basis to keep me going!
I like to cook something tasty and healthy but not something that means I will be cooking for hours.
90% of the meals I cook are vegetarian since the husband is vegetarian and I honestly do not want to cook two meals every evening. Last night I was thinking about what suppers I can cook this week and needed some inspiration.I went to my embarrassingly unused, large collection of cookbooks namely Jamie Oliver, Nigella, River Cottage, Rick Stein, Simon Rimmer etc. but last night I picked one out the pile that I haven’t touched in a while.
Quiet Food: A recipe for sanity is a book my Dad recommended. It is a vegetarian cookbook filled with beautiful recipes, pictures and quotes from the Buddhist Retreat Centre in Ixopo, South Africa. I read it with a cup of tea and was so inspired to do some cooking afterwards.
I chose my favourite recipe in the book so far - Buddha's treasure which is a vegetarian lasagne - it is delicious - why not give it a go?
Ingredients
1 onion, chopped
1 garlic clove, crushed
1 celery stalk, finely chopped
1 carrot, finely chopped
25ml vegetable oil
A handful of fresh basil, tarragon and parsely (I used the dried version)
1 can chopped tomatoes
30ml tomato paste
250ml cooked lentils
Seasoning
Cheese Sauce (makes 250ml)
50ml flour
25g butter
250ml milk
250ml grated cheddar cheese (I also add some greated parmesan)
salt
pepper
For the tomato sauce
Fry onion, garlic, celery and carrots in oil until soft. Add the rest of the ingredients and simmer for 10 minutes.
For the cheese sauce
Melt butter in saucepan, remove from heat and add flour.
Return to a low heat and gradually blend in milk and cheese.
Continue mixing until a smooth sauce forms.
Grease a large baking dish. Place a layer of the tomato sauce in the bottom.
Add a layer of pasta followed by a layer of cheese sauce.
Repeat layers and end with cheese sauce.
Sprinkle with paprika and bake at 180 degrees for 35 - 40 minutes - it should be bubbling and golden on top.
Serve with salads and crusty bread.
It is a comforting dish in the cold evenings but with that added healthy twist.
Happy Thursday x
How to Survive a Wednesday
13 March 2013


What better what to start a Wednesday than with another goody from Harold & Lisa? I just love it.
Make it count x
Salted Caramel Layer Brownies
11 March 2013
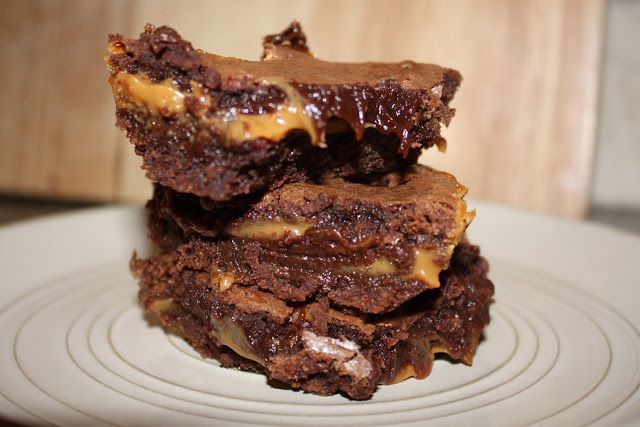
Now, the name of this post should warn you that if you are counting calories do not read any further! These little treats are just too divine and if you are in need are of a chocolate rush, read on...
I first came across these inventive brownies when visiting a farmers market in Londontown a few weeks back. Batch Bakery had a little store and I could not help myself buying one of their salted caramel brownies. I ate it at home that evening and immediately wished I had bought more than one! So, the only other option, since London is quite the distance from our little Oxfordshire village, was to make them.
The internet is full of recipes for them, but I stumbled across this one and decided to adapt it from there.
The result....a delicious, indulgent brownie guaranteed to whisk those Monday blues away!
Enjoy!
Ingredients
230g butter
300g dark chocolate
300g sugar
300g flour
4 large eggs
1 tablespoon vanilla extract (I always use this one)
1/2 teaspoon salt
225g chopped dark chocolate/chocolate chips (optional)
1/2 tin caramel
To do
♥ Preheat oven to 180 degrees and line your baking tray.
Method
♥ Place butter and chocolate in a pan and melt slowly and mix until you have a glossy mixture.
♥ Add the sugar, eggs and vanilla, mixing until combined.
♥ Stir in the flour and salt until just combined.
♥ Pour half the batter into your lined baking tray and cook for 20 minutes in the oven.
♥ Once cooked, allow to cool for at least 20 minutes.
♥ Meanwhile, mix your caramel in a bowl until soft and runny
♥ Pour over your cooled brownies
♥ Dollop the rest of your brownie mixture on the top and spread out with a spoon.
♥ Bake for 30 minutes.
Allow to cool and then cut into sqaures.
Must be had with a large cup of tea ♥
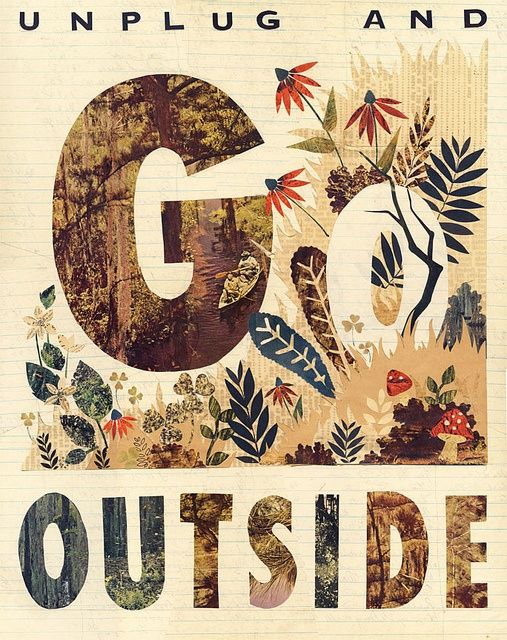
On unplugging
9 March 2013
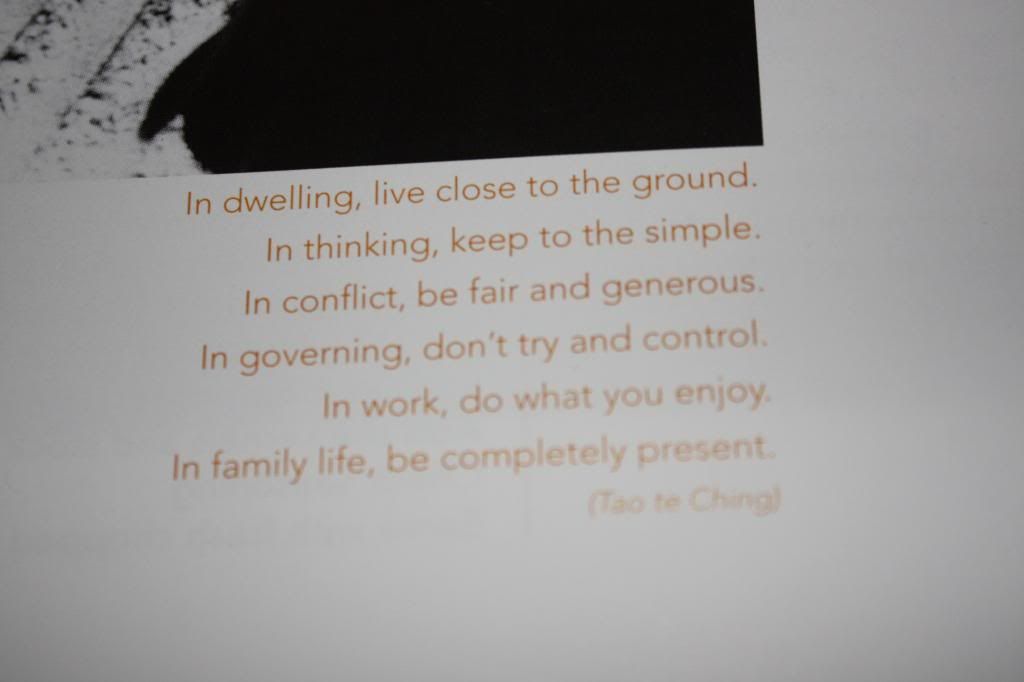
|
| {Source} |
Do you every unplug from the world for a day? I love twitter, instagram, facebook, reading my favourite blogs and whatnot but sometimes I feel I need to unplug from the online world for a bit to reconnect, gather my thoughts and think about the stuff that matters.
It is important to have a break, enjoy something tangible - read a book, enjoy a cup of tea and a real conversation with your husband, bake something, go in your garden and breathe the fresh air, put on your wellies and take a stroll.
So on Sunday - I am challenging myself to unplug from the world of; updating my blog, seeing who has had what for breakfast on instagram, refraining from tweeting and finding out statuses on facebook.
I know for sure the husband will be happy - he is constantly on at me for being on my phone/ipad too much. Because I live far away from my friends and family I think I feel it is my way of connecting with them.
So - will you unplug on Sunday? Take a break and do something with your time that you enjoy?Relax. Think: Quality time.
Happy weekend x
Bedroom Decor Inspiration
8 March 2013

 |
| {See here for sources} |
So that leaves us with our bedroom. I have a pretty good idea as to what I want it to look like. At the moment the bed, side tables and chest of drawers are the IKEA Malm range all in oak veneer. We want something light and airy for our bedroom as it can feel a bit dark. Here are some of my ideas.
 |
| I love these geometric shapes and colours - and the grey walls are just perfect. |
 |
| Simple, pretty lamps from Ikea. |
 |
| I have to make this with the pallets we have in our shed. |
Thursday's thought
7 March 2013


Reflections
6 March 2013

I have just started my final course for my degree. The module: Adult, Ageing and the life course is about becoming an adult, ageing and reflecting on your life course and how your experiences effect the way in which you use Health & Social care services.
We have been asked to reflect on our life course thus far and think about the experiences we have been through. I am a looking forward kind of person - I don't always like looking back at what has happened. Maybe because it brings up things I don't wish to dwell on but also because I sometimes find it scary to think about how my schools years are done, my early twenties are done - I am 26 years old - an "adult" - really? I am an adult!?
It feels like yesterday I was going to school, wearing my uniform, playing hockey and waterpolo, doing homework, going to the movies with friends and living at home.
Isn't it funny that when we are younger we sometimes wish to be older, more independant and now, as an older person looking back - I sometimes wish myself back to those days of less responsibility, being back at school and enjoying all those activities that come with it. But alas - that is not possible. All I can do is appreciate the wonderful childhood I was privelaged enough to enjoy with all my friends and family in our suburb of Cape Town. Luckily, I too have many a happy memory stored in my heart as well as photographs I can call on if I am feeling particularly nostalgic.
Do you miss your childhood? Do you often reflect on all that you have been through in life so far?
Have a happy Wednesday x
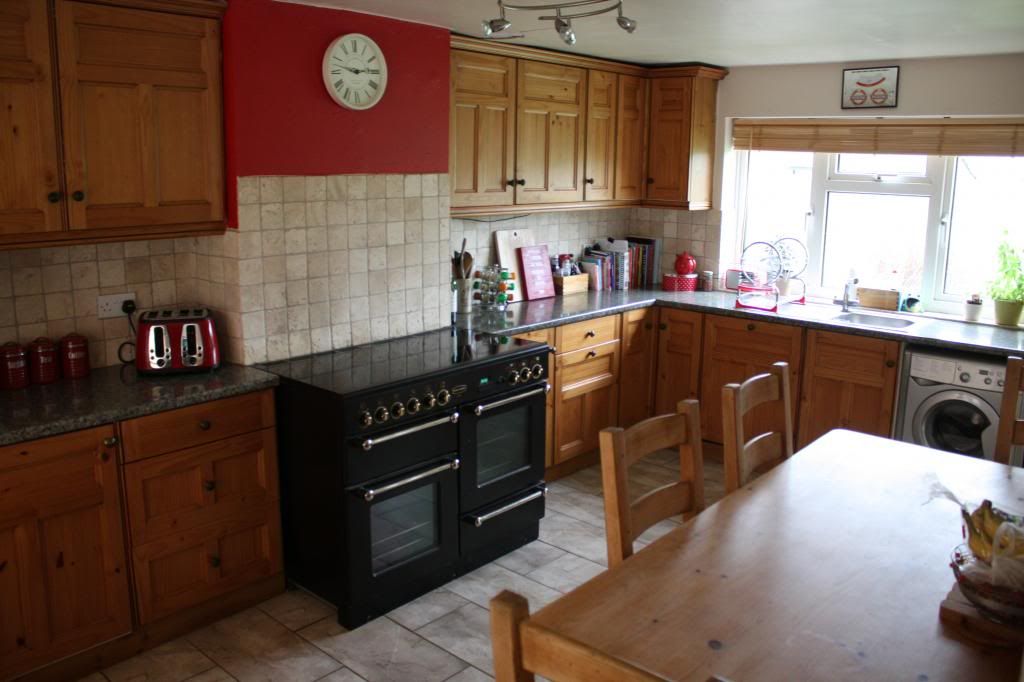
House Tour Part I
5 March 2013
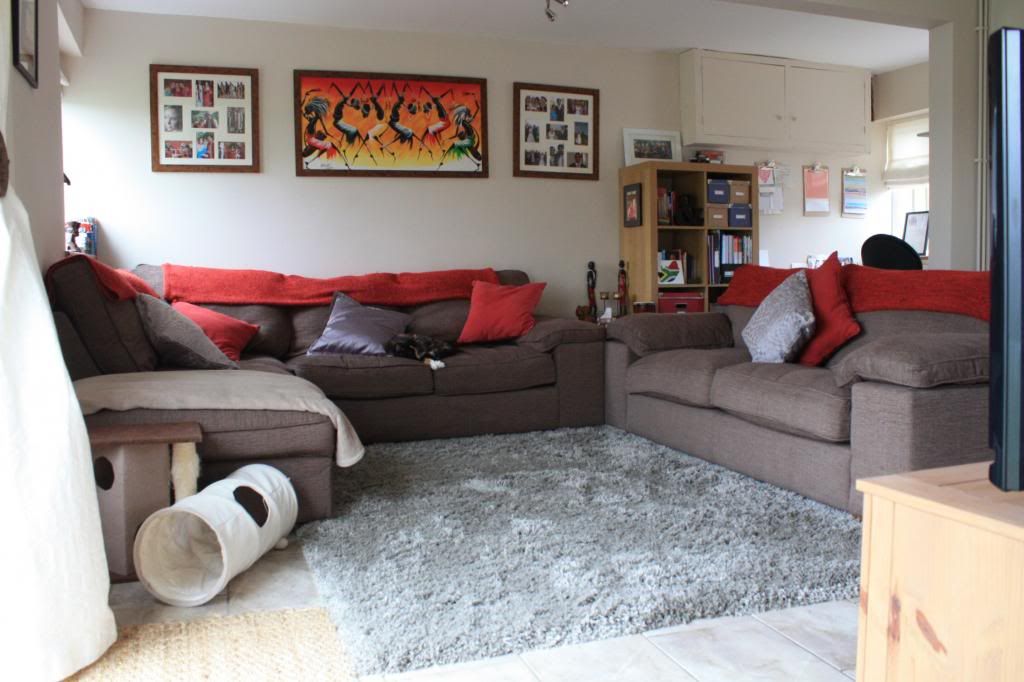
We moved into our little home on the 18th August 2012. Just over 6 months later and we have completed downstairs. (We only need to paint two bedrooms upstairs and then we are done there too - pictures to follow in a few months) Woohoo! We have taken out the electric storage heaters, installed gas, installed central heating, painted the lounge, kitchen, stairwell and desgined my desk/craft space, hung curtains and blinds, bought another couch, a rug and a dining room table as well as decorating the cloakroom. And that is just downstairs! Special mention to hubby for making my desk for me - it is perfect for my sewing machine and studying space. I ♥ it. The result.....
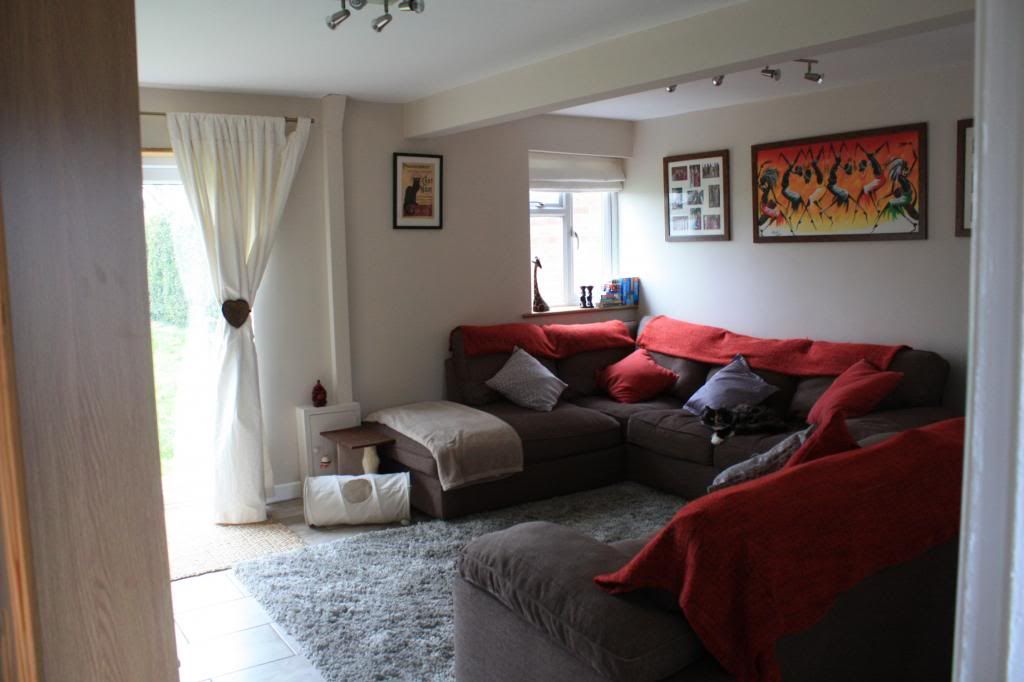
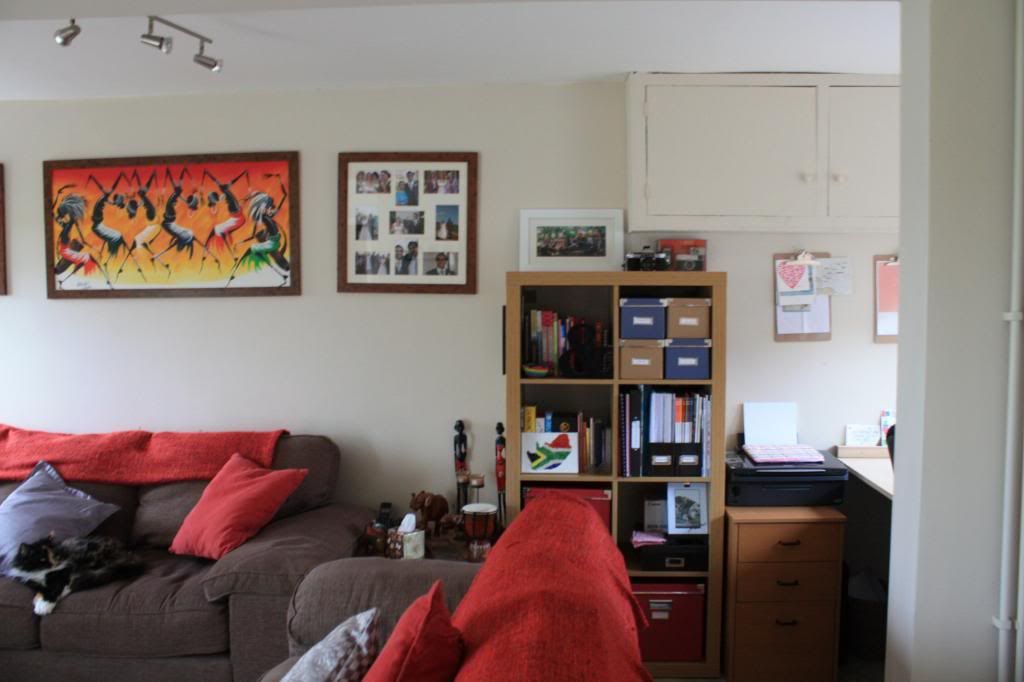
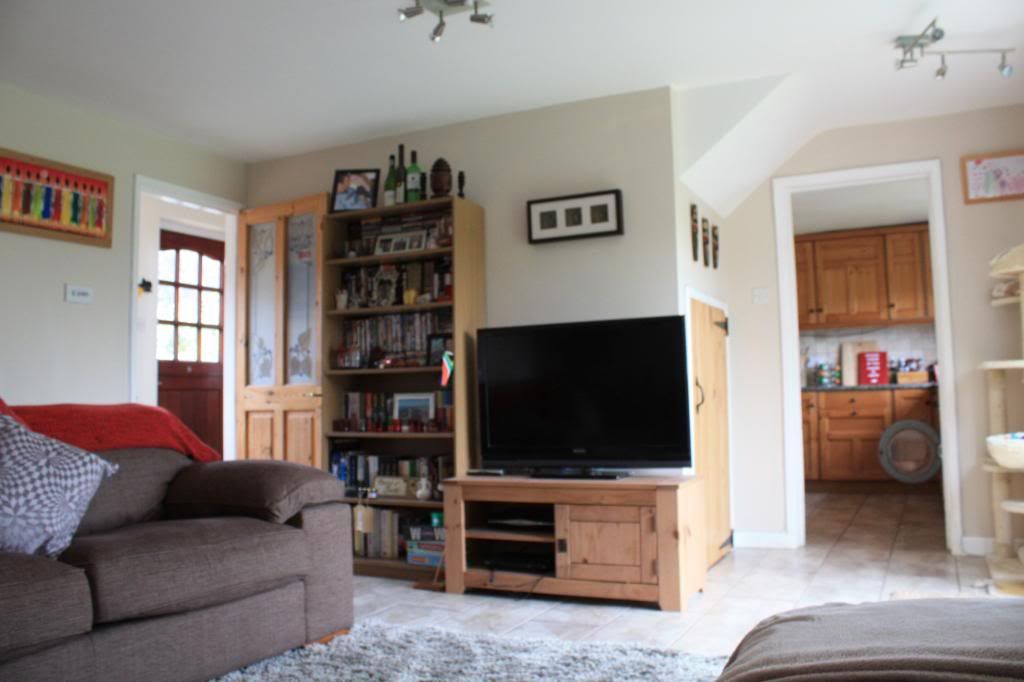
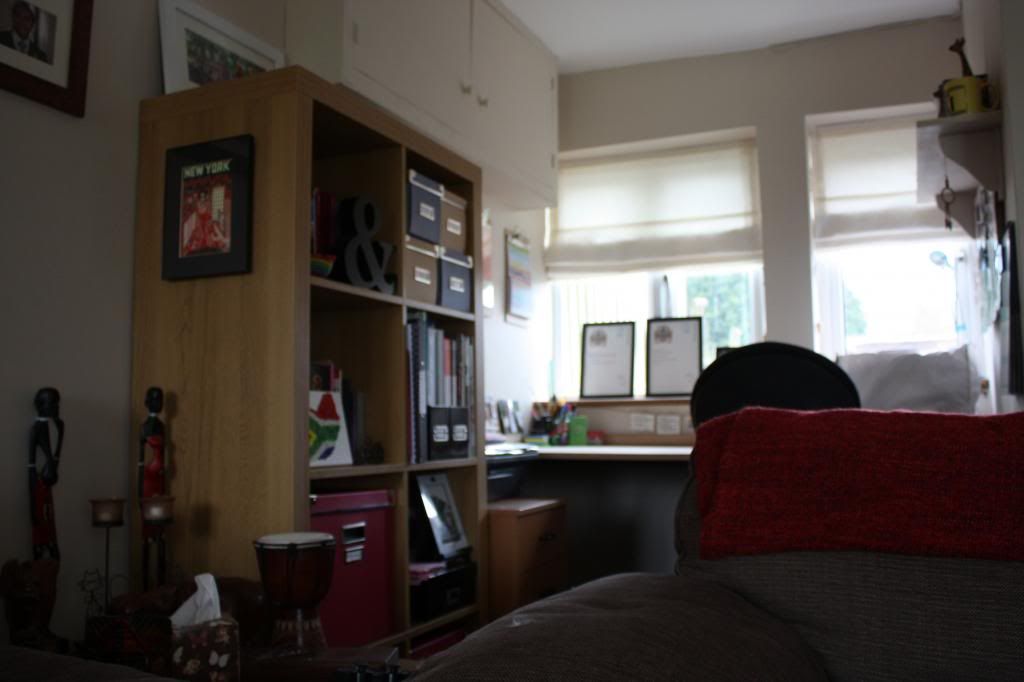
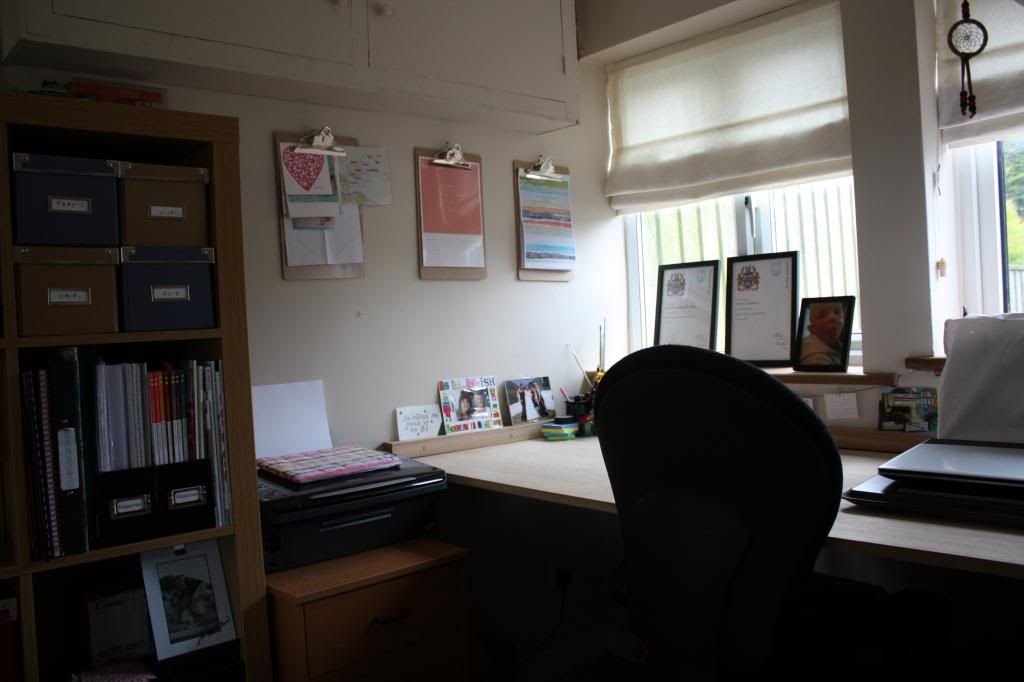
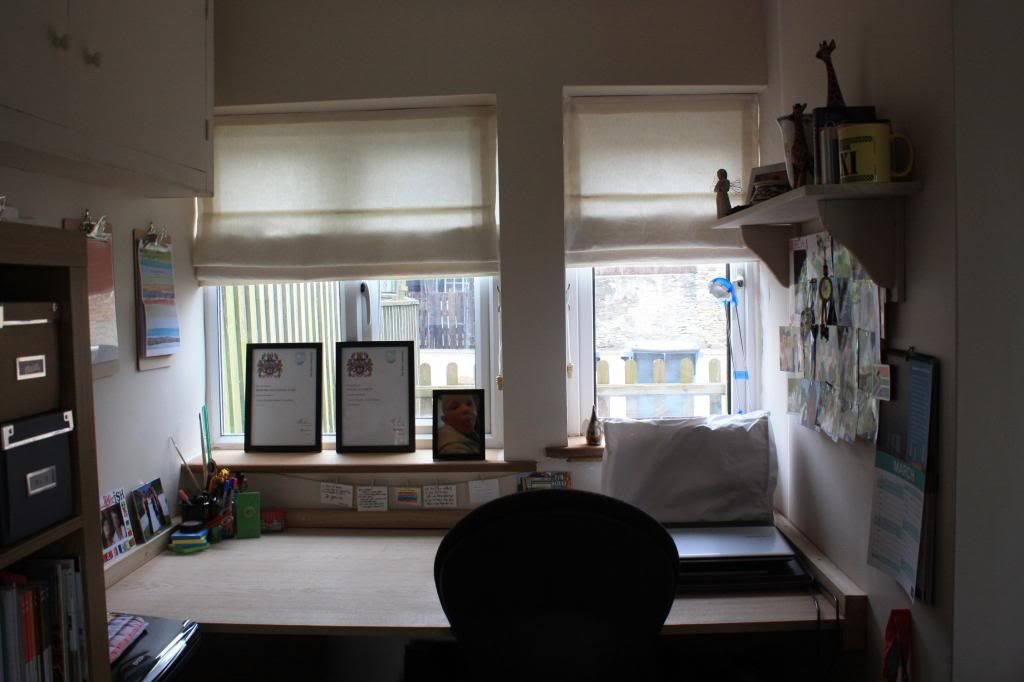
![]()
Inspiration has come from here, my Pinterest boards are filled with ideas I would love to make a reality. I ♥ Pinterest.
Happy Tuesday!
x


Inspiration has come from here, my Pinterest boards are filled with ideas I would love to make a reality. I ♥ Pinterest.
Happy Tuesday!
x
DIY Bead Canvas
4 March 2013


The inspiration for this project came about when I visited the gift shop at the Mount Nelson Hotel in Cape Town. There were these beautiful little canvases for sale with the shape of the african continent filled with broken china, beads, sequins and lovely pretty things. They were amazing.
So I bought some blank canvases and some beads and they were still sitting on my bookcase nearly a year later. So on Friday night I unpacked it all and finally put together my idea. I am so chuffed with how it came out and super impressed.
I think I might do one for Great Britian next and maybe Ireland for my family in Dublin. Another little project ticked off my list.
What you need
♥ Blank canvas
♥ Beads of choice
♥ PVA glue
♥ Pencil
What do to
♥ Sketch your shape onto the canvas using the pencil.
♥ Carefully put some glue onto a small portion of the shape and emtpy the beads onto the glue.
♥ After a minute or so pour the leftover beads off the canvas.
♥ The beads which have stuck to the glue will have stayed on the canvas.
♥ Repeat the process until complete.
You don't have to use a flag, any shape or even words will do. The possibilites are endless!


Happy crafting! x
Subscribe to:
Posts (Atom)


Social Icons